Account management
Manage your account on Entreprise Vault and Trustelem.
- Account Management Overview
- Create WALLIX Entreprise Vault account
- Get Master Password Hint
- Reset Master Password
- Change Master Password
- Encryption Key Settings
- Login to Vault
- Logout from Vault
- Unlock Vault
- Lock Vault
- Unlock with PIN
- Unlock with Biometrics
- Lock Vs Logout
- Deauthorize Sessions
- Account Switching on Mobile App
- Reset Trustelem Password
- Delete Account
Account Management Overview
Access WALLIX Enterprise Vault from WALLIX Web Vault, by Installing the WALLIX Web Browser Extension or from the iOS or Android Application, which can be installed easily with the help of a QR code.
WALLIX Enterprise Vault can be used by members to store passwords and other private information. WALLIX Enterprise Vault is accessible via Trustelem, the WALLIX IDAAS platform. To access to your Enterprise Vault account, you have to login to the Trustelem portal first and login to your account with your master password. Additionally, a 2-factor authentication (2FA) can be configured in the Trustelem portal to access to the Enterprise Vault.
Click on Account Invite to create a Master Password that used for the Second level login to WALLIX Enterprise Vault. The First Level Authentication is via your Trustelem Account.
Use the two passwords to Login to Vault once the account is created.
The Web Browser extension can facilitate storing logins in the Vault in realtime, as accounts are accessed in the browser.
Logout from Vault once finished using WALLIX Enterprise Vault.
Lock Vault and Unlock Vault as needed to maximize data security. Unlock using PIN or Biometrics is also possible in certain cases. The differences between Logout and Lock are important to understand.
You can Switch Between Accounts using the Mobile App.
If you forget your WALLIX Trustelem password, follow the Trustelem Password Reset Procedure to change your password.
If you forget your WALLIX Vault password, follow the Get Master Password Hint Procedure.
Some Users are given the right to Manage Account Recovery of other Users. If you have Account Recovery Rights, you can Reset your Master Password.
You can also choose to Change your Master Password. You will be required to enter your current Master Password to do this.
You can change your Encryption Key Settings to manage how secure the Vault is. This can often be a tradeoff between security and performance.
You can also Reset your Trustelem Password or Change your Avatar.
Create WALLIX Entreprise Vault account
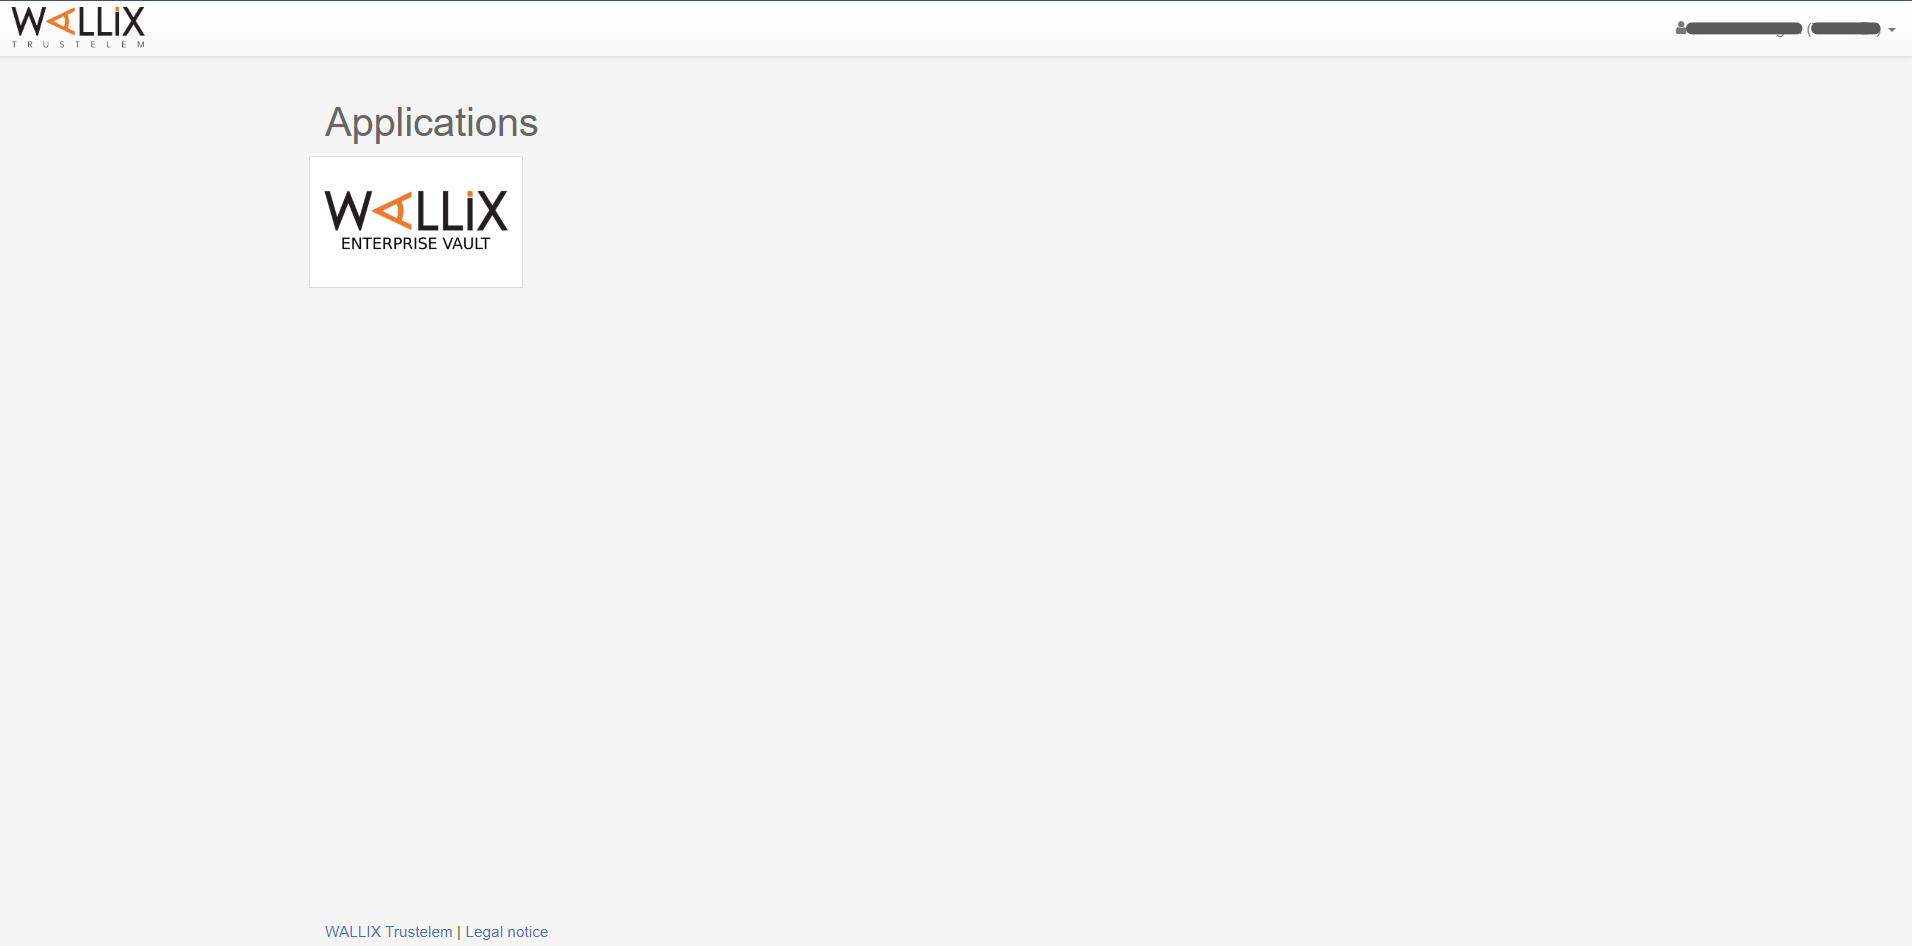
Click on the WALLIX Enterprise Vault application in the WALLIX Trustelem website.
The first time you enter your WALLIX Enterprise Vault you will be presented with a Create Account screen.
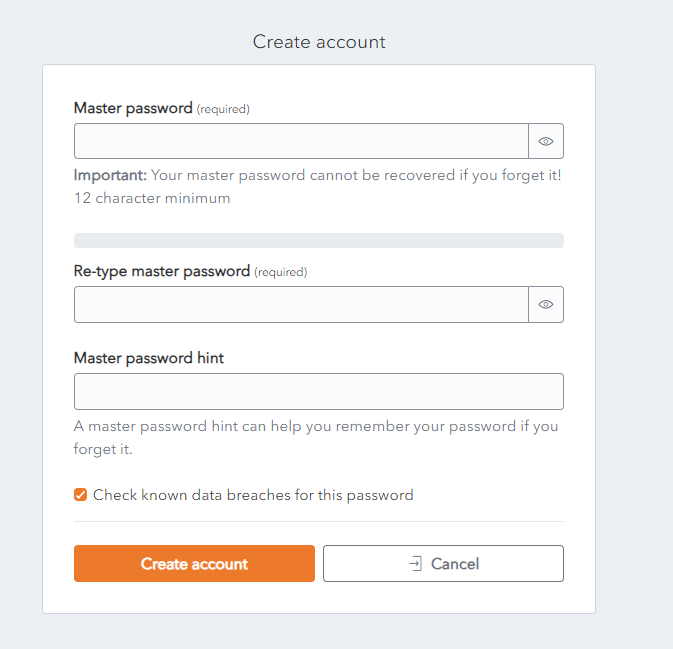
Choose a Master Password and enter it in the Master Password field.
Re-enter the Primary Password chosen in the Re-type master password field.
Enter a Password Hint in the Master password Hint field.
The checkbox Check known data breaches for this password is checked by default. Uncheck only if you do not need this check.
If you forget your Password and click on the Get Master Password Hint link, you will be sent the Password Hint that you created the first time you logged in. This should be a word or phrase that helps you to remember your password but doesn’t help other people to guess your password.
Click on the Create Account button to create your account. The account is created and the Enterprise Single Sign-On Page is displayed.
Alternatively, click Cancel to cancel account creation.
Get Master Password Hint
Follow the instructions below to request the password hint that you created when you first set up your Master Password (2nd level authentication).
From the WALLIX Vault Login Screen or Lock Screen, click the Get master password hint link.
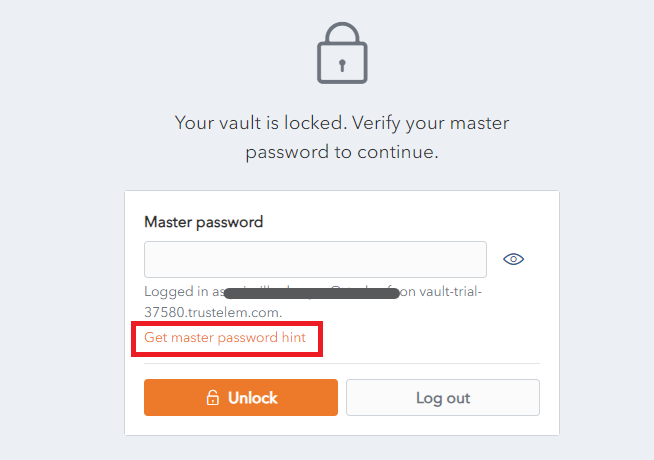
The Password hint screen is open.
Enter your Email Address and click Submit.
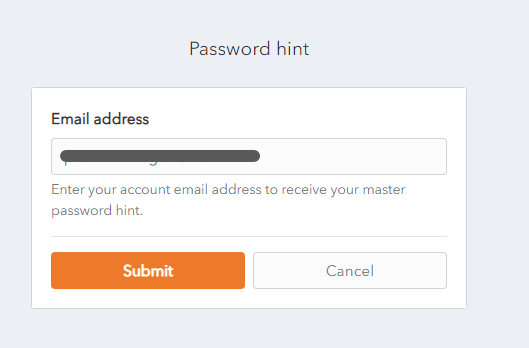
An email is sent to that email address containing the Master Password Hint associated with that email address.
Reset Master Password
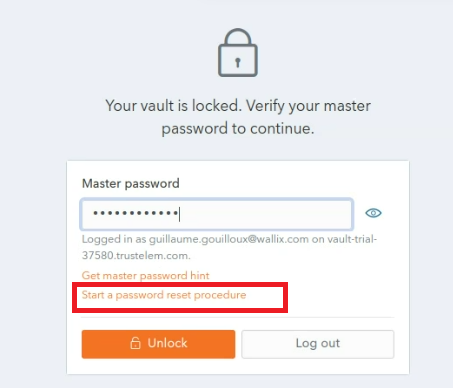
For users who have this option, the link to Start a password reset procedure appears on the WALLIX Vault Login and Unlock pages. The Vault Administrator gives users access to this option.
Please contact your Vault Administrator if you do not have this option and require it.
Create a Password Reset Request
From the Vault Login or Unlock page, click on the Start a password reset procedure link.
The following screen is displayed.
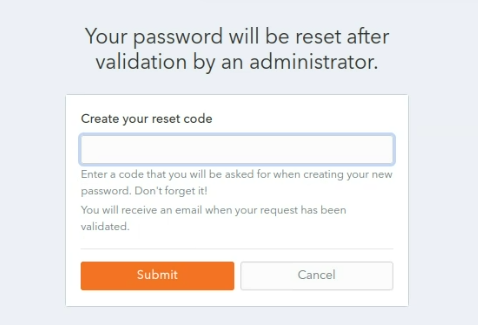
Choose and enter a reset code in the Create your reset code field.
It is important to remember the reset code you choose, as you need it to complete the password reset procedure.
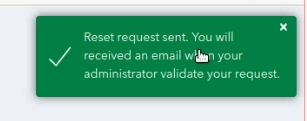
Your Password Reset Request is sent and needs to be validated by the Vault Administrator.
Create a New Password
Once the Vault Administrator validates your Password Reset Request, you receive an e-mail containing a reset link.
Click the Reset Password link.
The Reset your master password screen is displayed.

In the Enter your reset code field, enter the reset code created during the Create a Password Reset Request procedure.
In the New master password field, choose and enter a new master password.
In the Confirm new master password field, re-enter the new master password chosen.
In the Master password hint field, enter the Master Password Hint that you created when you created your Account.
The Check known data breaches for this password checkbox is checked by default. This can be unchecked if you do not wish to check for known data breaches related to your new chosen password.
The Also rotate my account's encryption key checkbox is unchecked by default. This can be unchecked if you wish to rotate your account's encryption key.
Click Change master password to reset your master password. This disconnects you from your current session on all devices, and you must log in again with your new master password.
The following screen is displayed showing a Master Password reset confirmation message.
Alternatively, click Log out to cancel the operation.
Change Master Password
Users can change their master password from WALLIX Vault. This requires remembering the current master password.
This procedure is similar to the Reset Master Password Procedure, which is used when the User cannot remember their current Master Password.
Click on the User Icon, on the top right-hand side of the screen, to display the User Menu.
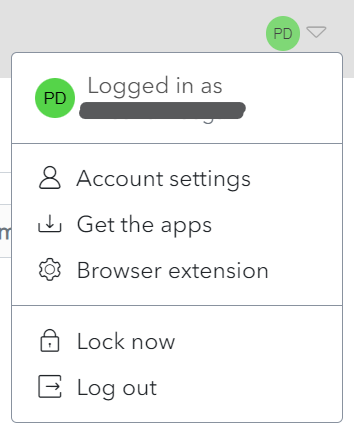
Click on Account Settings and then Security. The Security Screen is displayed on the Master Password Tab.
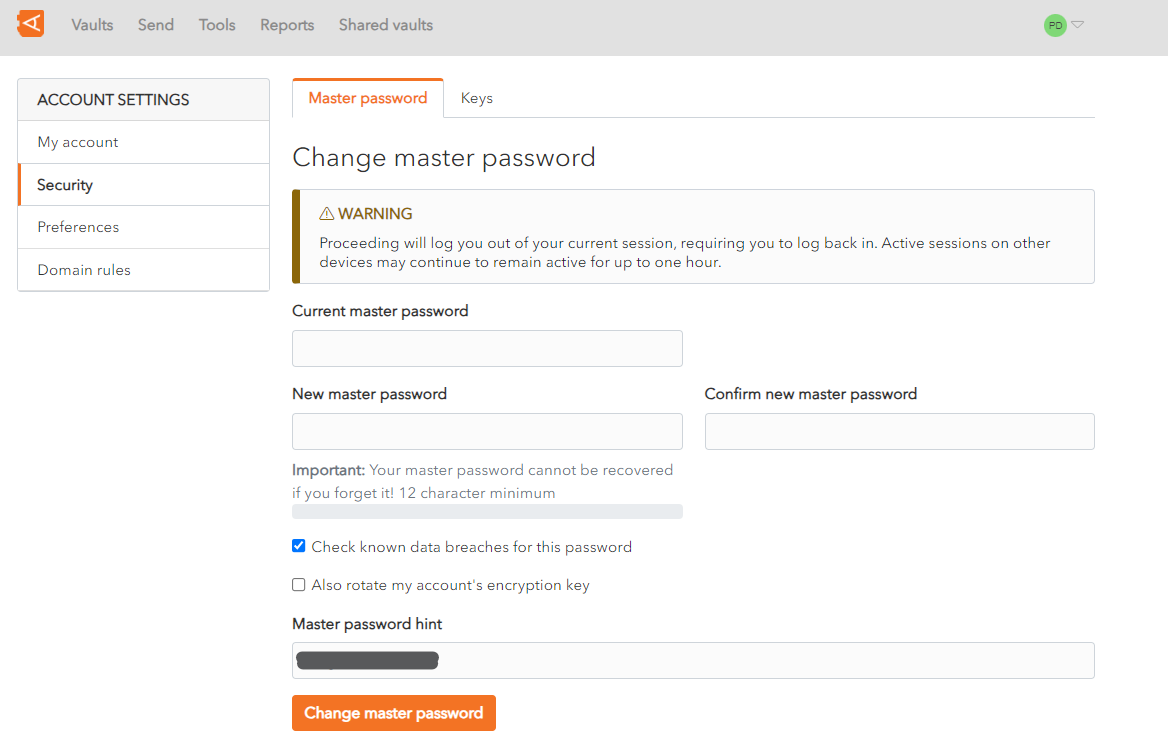
In the Current master password field, enter your current master password.
In the New master password field, choose and enter a new master password.
In the Confirm new master password field, re-enter the new master password chosen.
In the Master password hint field, enter the Master Password Hint that you created when you created your Account.
The Check known data breaches for this password checkbox is checked by default. This can be unchecked if you do not wish to check for known data breaches related to your new chosen password.
The Also rotate my account's encryption key checkbox is unchecked by default. This can be unchecked if you wish to rotate your account's encryption key.
Click Change master password button to change your master password. This will log you out of your current session on all devices and you will be required to log back in with your new master password.
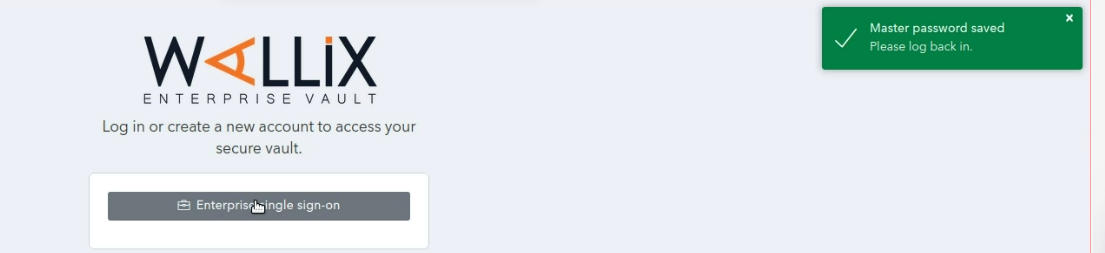
The following screen is displayed showing a Master Password reset confirmation message.
Alternatively, click Log out to cancel the operation.
Encryption Key Settings
It is possible to change the Encryption Key Settings for your Account.
Click on the User Icon, on the top right-hand side of the screen, to display the User Menu.
Click Account Settings and click Security. The Security screen is displayed on the Keys Tab.
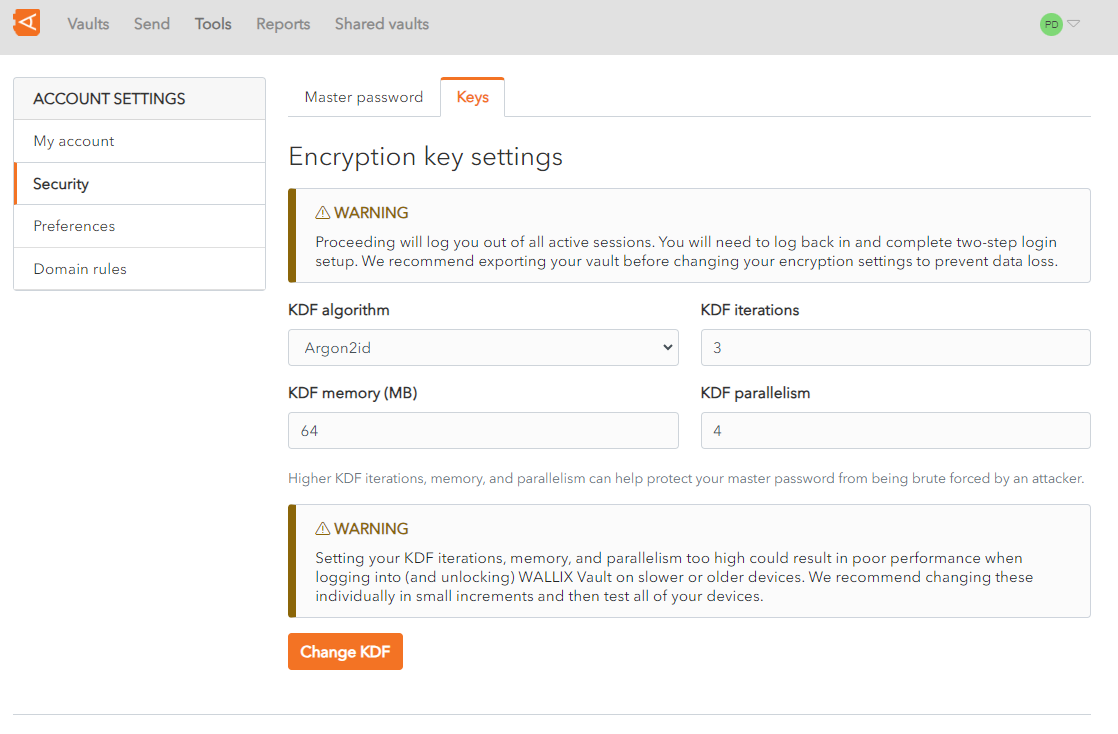
The following options can be changed:
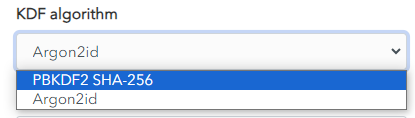
- KDF algorithm: There are 2 choices - Argon2id or PBKDF2 SHA-256.
To be more secure and efficient, use Argon2id rather than PBKDF2.
- KDF Iterations: Choose the number of iterations possible. The default is 3.
- KDF memory (MB): Choose the memory required . The default is 64.
- KDF parallelism: Choose the parallism possible. The default is 4
Higher KDF iterations, memory, and parallelism can help protect your master password from being brute forced by an attacker. However, setting your KDF iterations, memory, and parallelism too high could result in poor performance when logging into (and unlocking) WALLIX Vault on slower or older devices. Changing these parameters individually, in small increments, and then testing all your devices is the best way to ensure performance.
Proceeding will log you out of all active sessions. You will need to log back in and complete two-step login setup. Export your vault before modifying your encryption settings to avoid any loss of data.
Click Change KDF to change the Encryption Key Settings for your Account.
Login to Vault
First Level Authentication
Enter your Email and the Password you chose on first login.
You can check the Remember Me checkbox if you want to save your email and password to avoid re-entering them the next time you login.
Then click the Sign In button.

Note : If you forget your Password click the Forgot your password ? link at any time to request a password reset.
This logs you into the WALLIX Trustelem Portal.
Click on the WALLIX Enterprise Vault button to access WALLIX Enterprise Vault.

Second Level Authentication
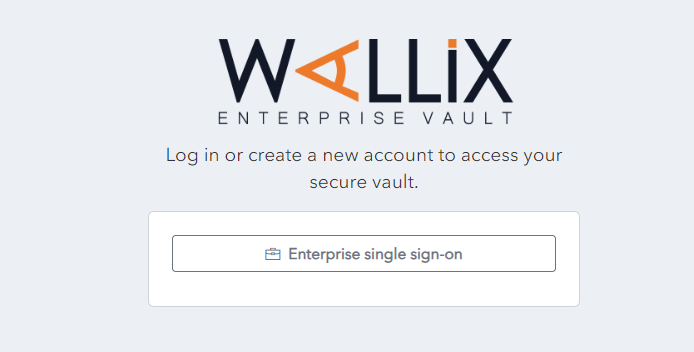
The WALLIX Enterprise Vault screen displays an Enterprise Single Sign On button.
Click the Enterprise Single Sign On button.

Enter your Master Password and click the Unlock button. This will bring you into your Vault Home Screen.
Note : If you are already logged into the WALLIX Portal, you can navigate directly to your WALLIX Enterprise Vault and go straight to the 2nd level authentification.
Logout from Vault
You can logout of WALLIX Enterprise Vault from the Vault Screen or the Lock Screen.
Logout from Vault Home Screen
You can log out of WALLIX Enterprise Vault from your WALLIX Enterprise Vault screen.

Click on the Log out button to log you out of WALLIX Enterprise Vault.
Note : This will log you out of the 2nd level of authentification only.
You will be returned to the Wallix Enterprise Vault Login Screen.
Logout from Unlock Screen
You can log out of WALLIX Enterprise Vault from the Unlock screen.
Click on the Log out button to log you out of WALLIX Enterprise Vault.
Note : This will log you out of the 2nd level of authentification only.
You will be presented with a confirmation pop up screen.

Click Log out to confirm log out.
You will be returned to the Wallix Enterprise Vault Login screen.

Unlock Vault
Your WALLIX Enterprise Vault is automatically locked after an extended period of inactivity, which can be changed in WALLIX Vault.
Enter your Master Password and click the Unlock button to access your WALLIX Enterprise Vault.
Lock Vault
You can lock your WALLIX Enterprise Vault from your WALLIX Enterprise Vault screen.

Click on the Lock now button to lock your WALLIX Enterprise Vault.
Note : This will return you to the WALLIX Enterprise Vault Lock Screen.
Unlock with PIN
Unlock with PIN is a feature that is available for WALLIX Vault for the Browser Extension and Mobile apps.
Browser Extension
Enable Unlock with PIN
From the Browser Extension, click the Settings Menu.
Check the Unlock with PIN Checkbox.

A pop up screen is displayed.
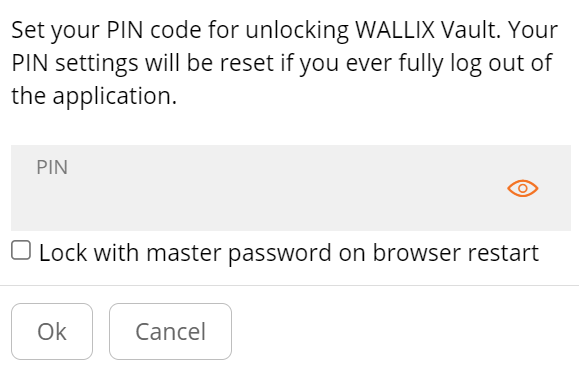
Create and enter a PIN to use for unlocking the Vault.
The Lock with master password on browser restart checkbox is checked by default. This requires the Master Password after Browser Restart.
If unchecked, the PIN will be required on browser restart.
Click Ok to save PIN and activate Unlock with PIN.
If the Lock with master password on browser restart checkbox is unchecked, some sensitive data in memory may not be deleted when the browser extension is locked.
Alternatively, click Cancel to cancel the operation.
If you fully log out of the application, your PIN settings will be reset.
Change PIN
To change the PIN after it has been set, disable the Unlock with PIN checkbox in settings, then reenable it.
This will require a new PIN to be entered.
Use Unlock with PIN
When the Browser Application is locked, you will be prompted to enter the PIN to unlock.
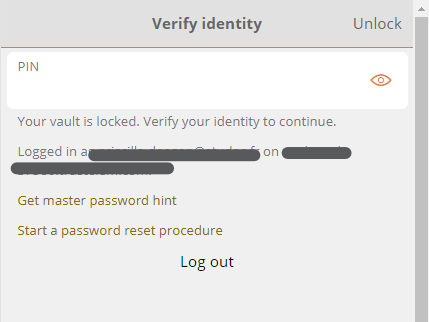
If the browser is restarted, you will be prompted to enter either a PIN or a Master Password to unlock. This is based on the Lock with master password on browser restart option chosen during PIN creation.
Mobile App
Enable Unlock with PIN
From the Settings tab on WALLIX Vault Mobile App, tap the Unlock with PIN Code option.
Create and enter a PIN to use for unlocking the Vault.
A Pop up screen appears to request if you wish to Lock with master password on browser restart.
Tap Yes to require Master Password on browser restart.
If the Lock with master password on browser restart checkbox is unchecked, some sensitive data in memory may not be deleted when the browser extension is locked.
Alternatively, tap No to require PIN on browser restart.
If you fully log out of the application, your PIN settings will be reset.
Use Unlock with PIN
When the Mobile App is locked, you will be prompted to enter the PIN to unlock.
If the browser is restarted, you will be prompted to enter either a PIN or a Master Password to unlock. This is based on the Lock with master password on browser restart option chosen during PIN creation.
Unlock with Biometrics
Unlock with Biometrics is a feature that is available for WALLIX Vault for the Browser Extension and Mobile apps.
Biometrics are part of you Operating System or Mobile Device. WALLIX Vault does not receive biometric information about an Account.
Enable Unlock with Biometrics
From Settings menu on your mobile device, turn on and enable Biometrics.
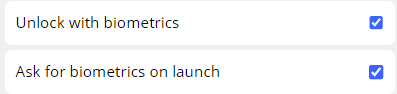
From WALLIX Mobile App, open Settings > Account Security.
Check the Biometrics option you wish to enable. For iOS the following options are available:
In iOS, a Pop up screen appears to request confirmation of this change.
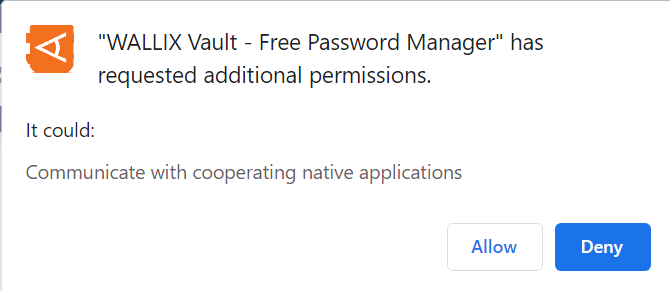
Tap Allow to enable biometrics.
Tap Deny to cancel the operation.
Lock Vs Logout
Lock and Logout do not perform the same function. It is important to understand the differences between them.
WALLIX Vault only stores Encrypted Data on its servers.
Login
The Master Password is needed to Login and gain access to the Account Encryption Key.
An Internet Connection (or Server connection) is needed.
Encrypted Vault Data is downloaded.
It is decrypted using the Account Encryption Key.
Unlock
The Account is already logged in.
The Encrypted Vault Data has already been downloaded.
The Master Password is not needed to unlock (but can be used).
Therefore, Unlock using PIN or Biometrics is possible.
An Internet Connection (or Server connection) is not needed.
Lock and Unlock using Biometrics or PIN
After activation of Unlock using a PIN or a Biometric Factor, a New PIN or a Biometric Encryption Key is created.
This is derived from the PIN or Biometric Factor used to encrypt the Account Encryption Key, which is stored locally when the User is logged in.
Unlock using Master Password on Browser Restart, the Account Encryption Key is stored in memory.
When you Unlock the Vault, the PIN or Biometric Encryption Key is used to decrypt the Account Encryption Key stored locally, which is then used to decrypt the Vault Data stored locally.
When you Lock the Vault, the decrypted Account Encryption Key and Vault Data are deleted.
Deauthorize Sessions
This is used if you want to deauthorize all computers and devices that have been previously used to login to WALLIX Vault with this Account.
Click on the User Icon, on the top right-hand side of the screen, to display the User Menu.
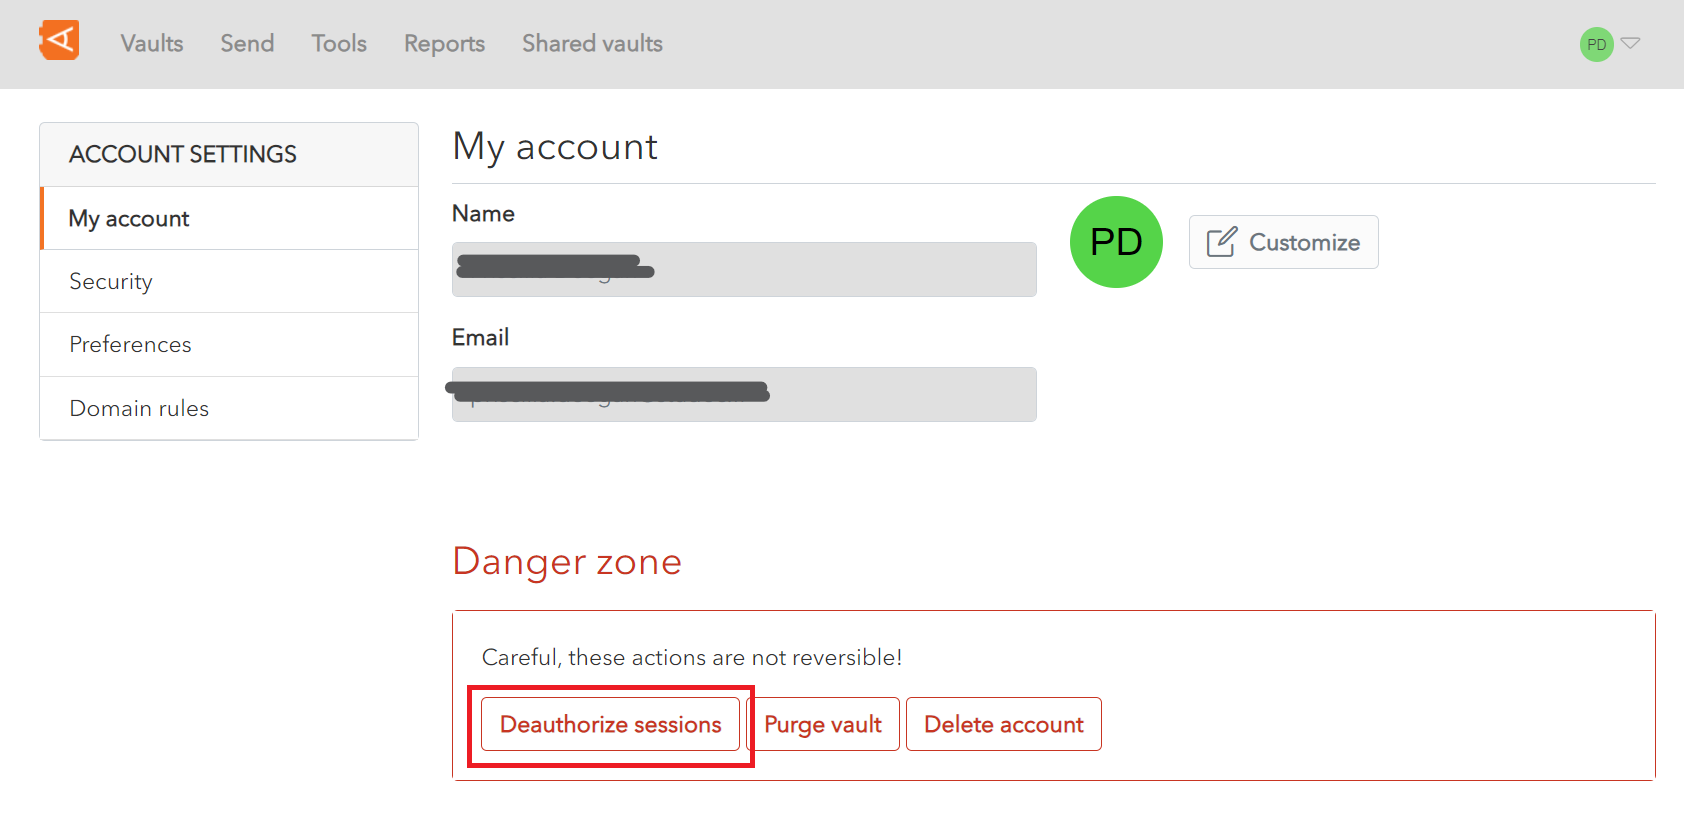
Click on Account Settings and then My Account. The My Account Screen is displayed.
Click Deauthorize sessions.
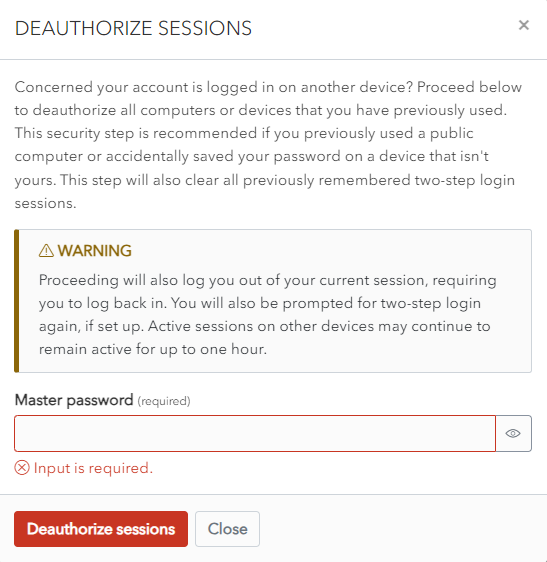
A Confirmation Screen is displayed.
Enter your Master Password and click Deauthorize sessions to deauthorize all previously authorized devices and computers and to log them out of the vault.
Alternatively, click Close to cancel the operation.
Account Switching on Mobile App
It is possible to have up to 5 WALLIX Accounts logged in at any one time on mobile devices.
Login to Multiple Accounts
Login to the WALLIX Vault Mobile App.
The Account Name and Status is displayed in the Top Menu Bar of the Mobile App. The status indicates whether it's Vault is locked or unlocked.
To log in to another account, click the Add Account button from Top Menu Bar.
The Login screen is displayed. Enter Login details to login.
If your Accounts are hosted on Different Servers, select the Server from the Login Screen.
The Account Name and Status is added to the Top Menu Bar.
To Switch between Accounts, choose the Account from the Top Menu Bar.
This becomes the Active Account. It's icon is displayed on the Top Menu Bar.
If you Log Out from an account it will disappear from the Logged In Account List unless Vault Timeout is set to Log Out.
Most Vault Actions (Vault Timeout, Unlock with PIN, Unlock with Biometrics, Auto-fill) only apply to the Active Account
Auto-fill for Multiple Accounts
Auto-fill applies to the Active Account by default.
It is possible to switch accounts during Auto-fill in order to auto-fill from another account.
Reset Trustelem Password
Request Password Reset
Follow the instructions to reset your password for WALLIX Portal (1st level authentication).
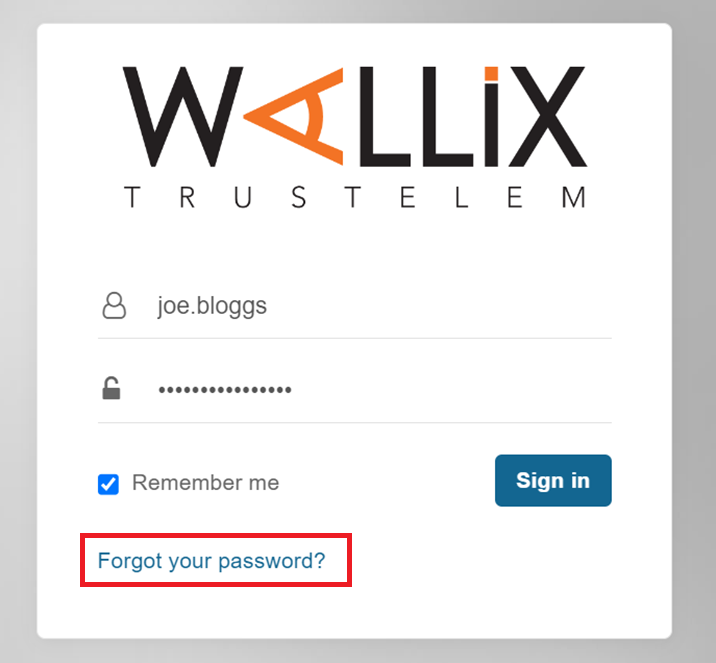
Click the Forgot your password ? link to Request a Password Reset.
This sends an email to the WALLIX Enterprise Vault Administrator who sends a Recovery Password email.
Reset Password from Email Link
Click on the Reset Password link in the Recovery Email received from TRUSTELEM. The following screen is displayed.
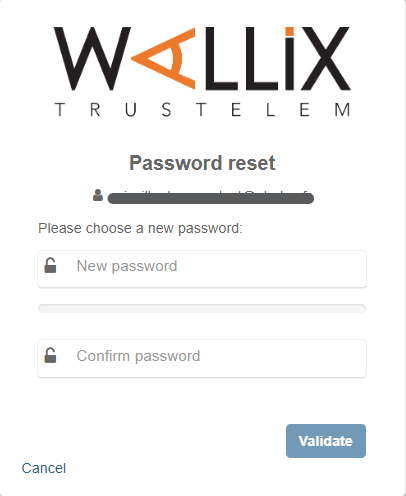
Choose a new password for WALLIX Enterprise Vault and enter it in the New Password field.
Re-enter the new password in the Confirm Password field.
Click the Validate button to save the new password.
Alternatively, click the Cancel button to cancel the operation.
Delete Account
Click on the User Icon, on the top right-hand side of the screen, to display the User Menu.
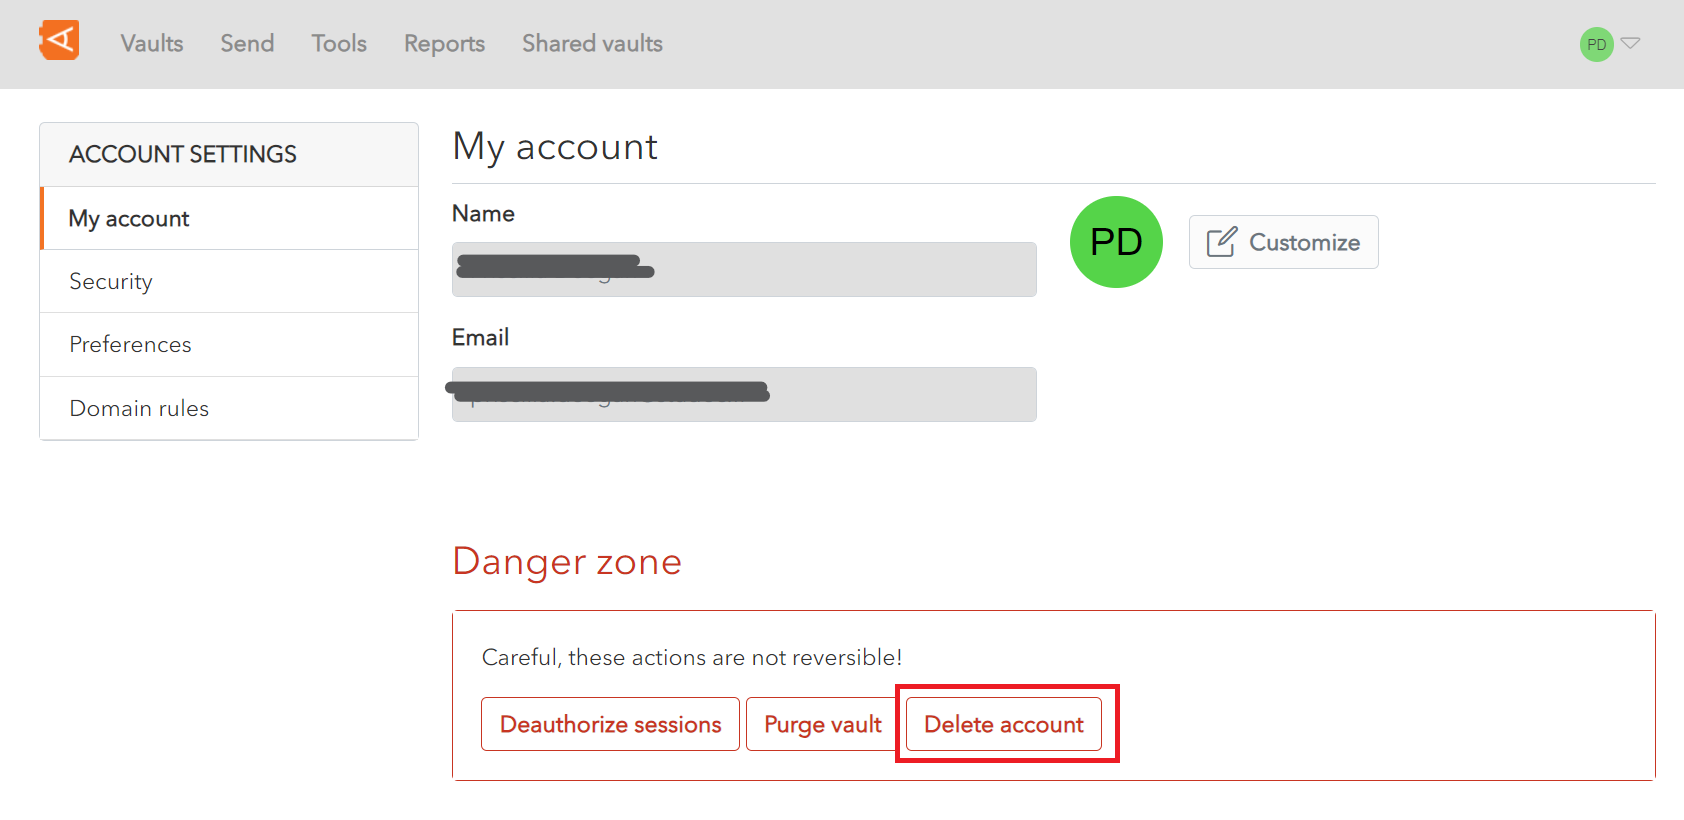
Click on Account Settings and then My Account. The My Account Screen is displayed.
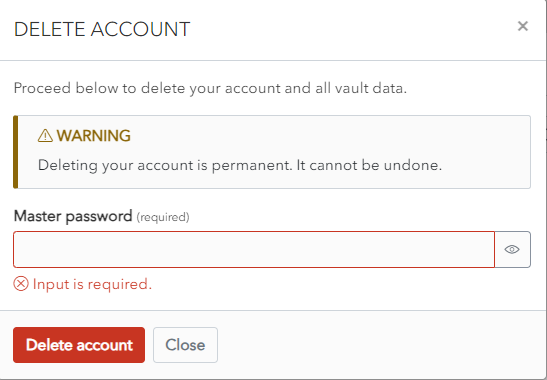
Click Delete account.
A Confirmation Screen is displayed.
Enter your Master Password and click Delete account to delete the account and all data.
Alternatively, click Close to cancel the operation.