Quick start guide
This quick start admin guide is divided into two parts.
First, the BUILD, which explains the operations to be carried out before starting to use the Enterprise Vault.
Secondly, the RUN, which lists the product life operations that can be performed.
BUILD
Enterprise Vault user creation and management uses WALLIX ONE IDaaS (also known as Trustelem), so the BUILD phase will involve configuring both Enterprise Vault and WALLIX ONE IDaaS.
1/ Subscription creation
When you subscribe to WALLIX ONE Enterprise Vault, you'll need to provide several pieces of information: among others the name of your company, and the names of future administrators.
Your company name will be used to create a WALLIX ONE IDaaS subscription.
For instance, MyCompany could have the subscription named "mycompany.trustelem.com".
The list of admins provided will be automatically provisioned when the subscription is created.
They will receive an email with :
- A link to initialize the account
- The subscription admin url (admin-your_name.trustelem.com) for WALLIX ONE IDaaS
- The subscription user url (your_name.trustelem.com) for WALLIX ONE IDaaS
- The link to the documentation
So, your first action as an administrator is to create your account using the link provided in the email, and then to go on the WALLIX ONE IDaaS administration page.
2/ Setup WALLIX ONE IDaaS
When you log on to the admin page, the subscription is empty, except for the first administrators. So you'll need to configure it.
There are 3 main things to do on WALLIX ONE IDaaS:
- Add Enterprise Vault applications
- Add users
- Give users access to Enterprise Vault
2.1/ Add Enterprise Vault applications
There are two applications to add:
- One for administrators, which includes auditing, logs and security policies.
Link to Enterprise Vault admin app documentation - The other for users, in which secrets are managed, as well as a few administrative tasks such as recovery.
Go to Apps, then Add an application, then select WALLIX Enterprise Vault and WALLIX Enterprise Vault administration.

2.2/ Add users
If you want to use directory or IDP users, you can do the following setup.
- Link to Active Directory documentation
- Link to Azure AD documentation
- Link to External IDP (Azure, Okta...) documentation
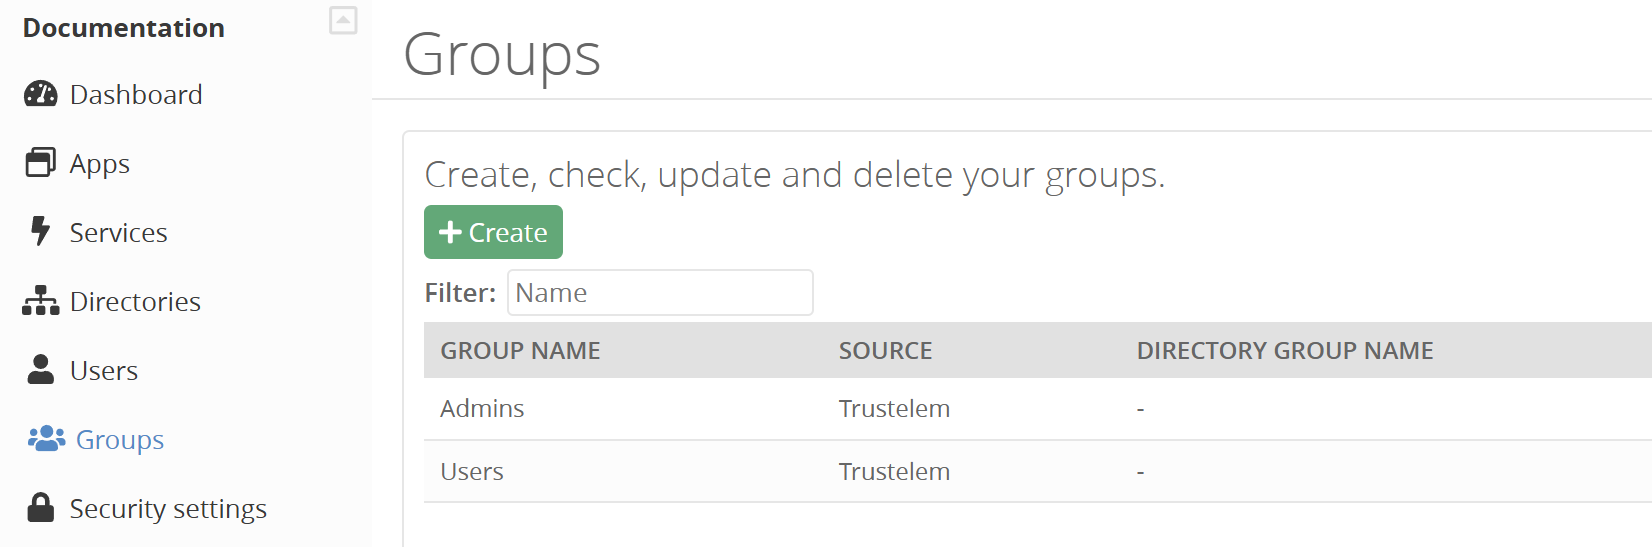
But if you want to use local users, you don't want to create them right away: they'll receive enrollment emails, while the rest of the setup isn't ready yet. That said, you can still create user groups, as they will be used for the next steps.
For instance, you can create a "Users" group, and an "Admins" group.
Go to Groups, then Create.
2.3/ Give users access to Enterprise Vault
You need to define who can access Enterprise Vault and how. To do this, you'll add permissions.
Permissions can be 1-factor, usually login and password, or two-factor with an additional secret.
Full documentation is available here:
Here's a summary of the main steps:
- Create permissions for users and administrators, usually in 2-factor mode.
Go to Access rules, select Create, then choose your apps et your groups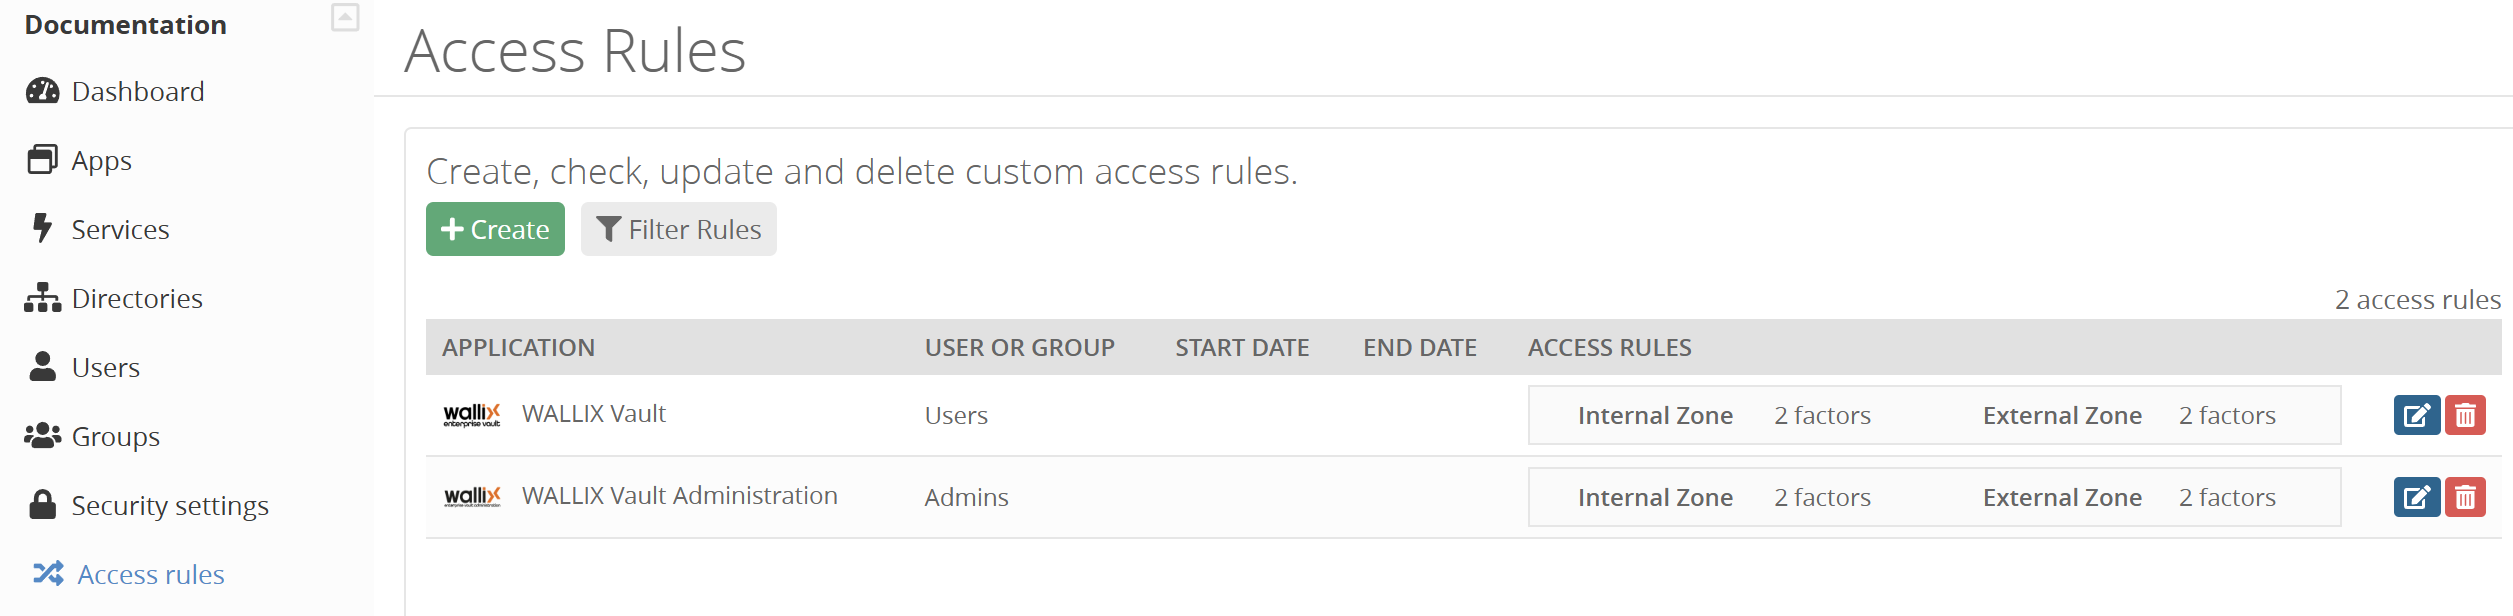
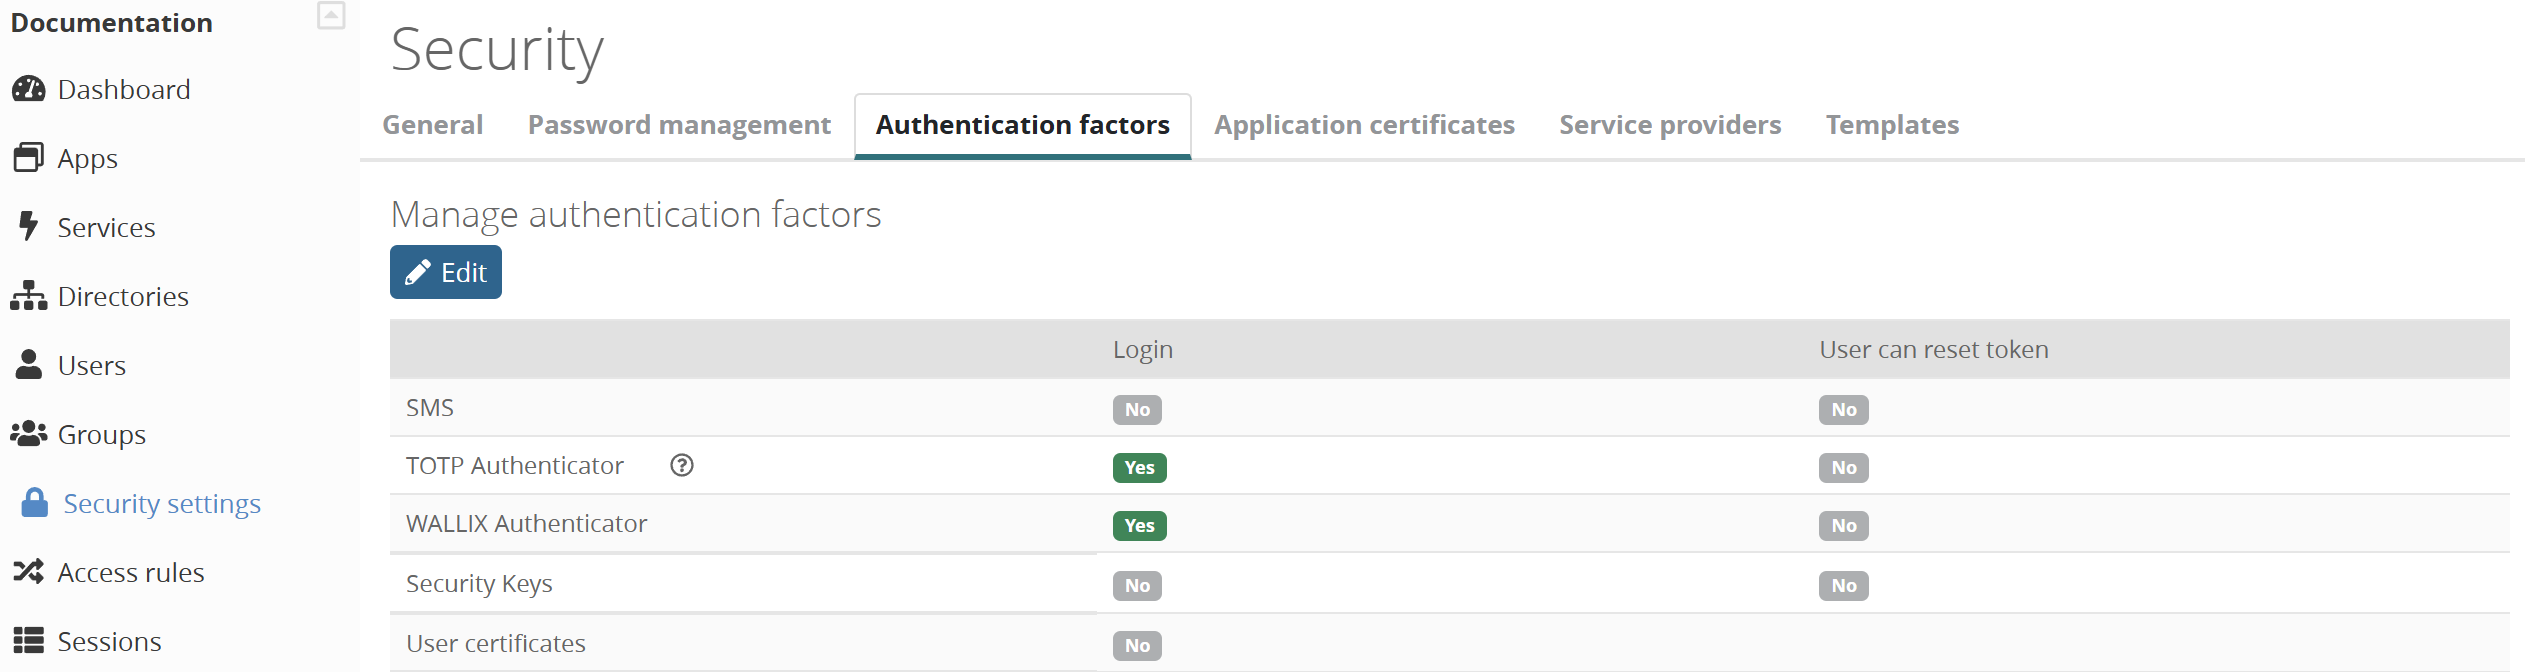
Internal & External zone depend of the users public IP which is compared to what is provided in Security > General > Internal network. - Enable the desired multi-factors in Security, Authentication factors, Login column
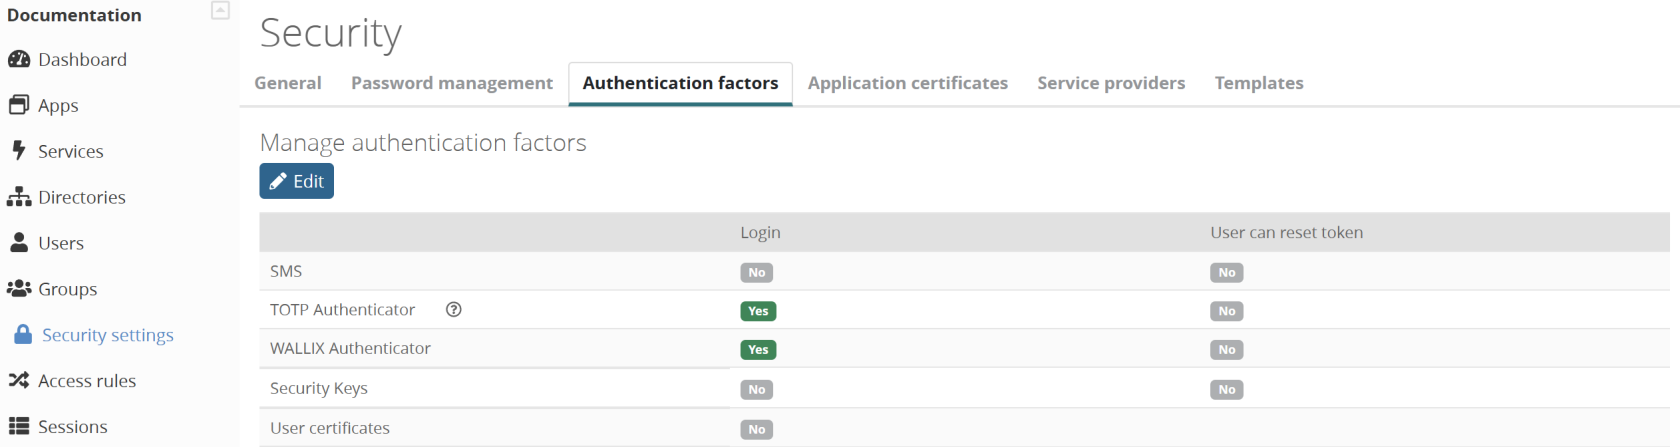
- In the same page, create an enrollment campaign to automate the 2nd factor enrollment
You'll probably want to use "enrollment during login", which allows the form to be displayed directly after authentication if the user doesn't yet have a 2nd factor.


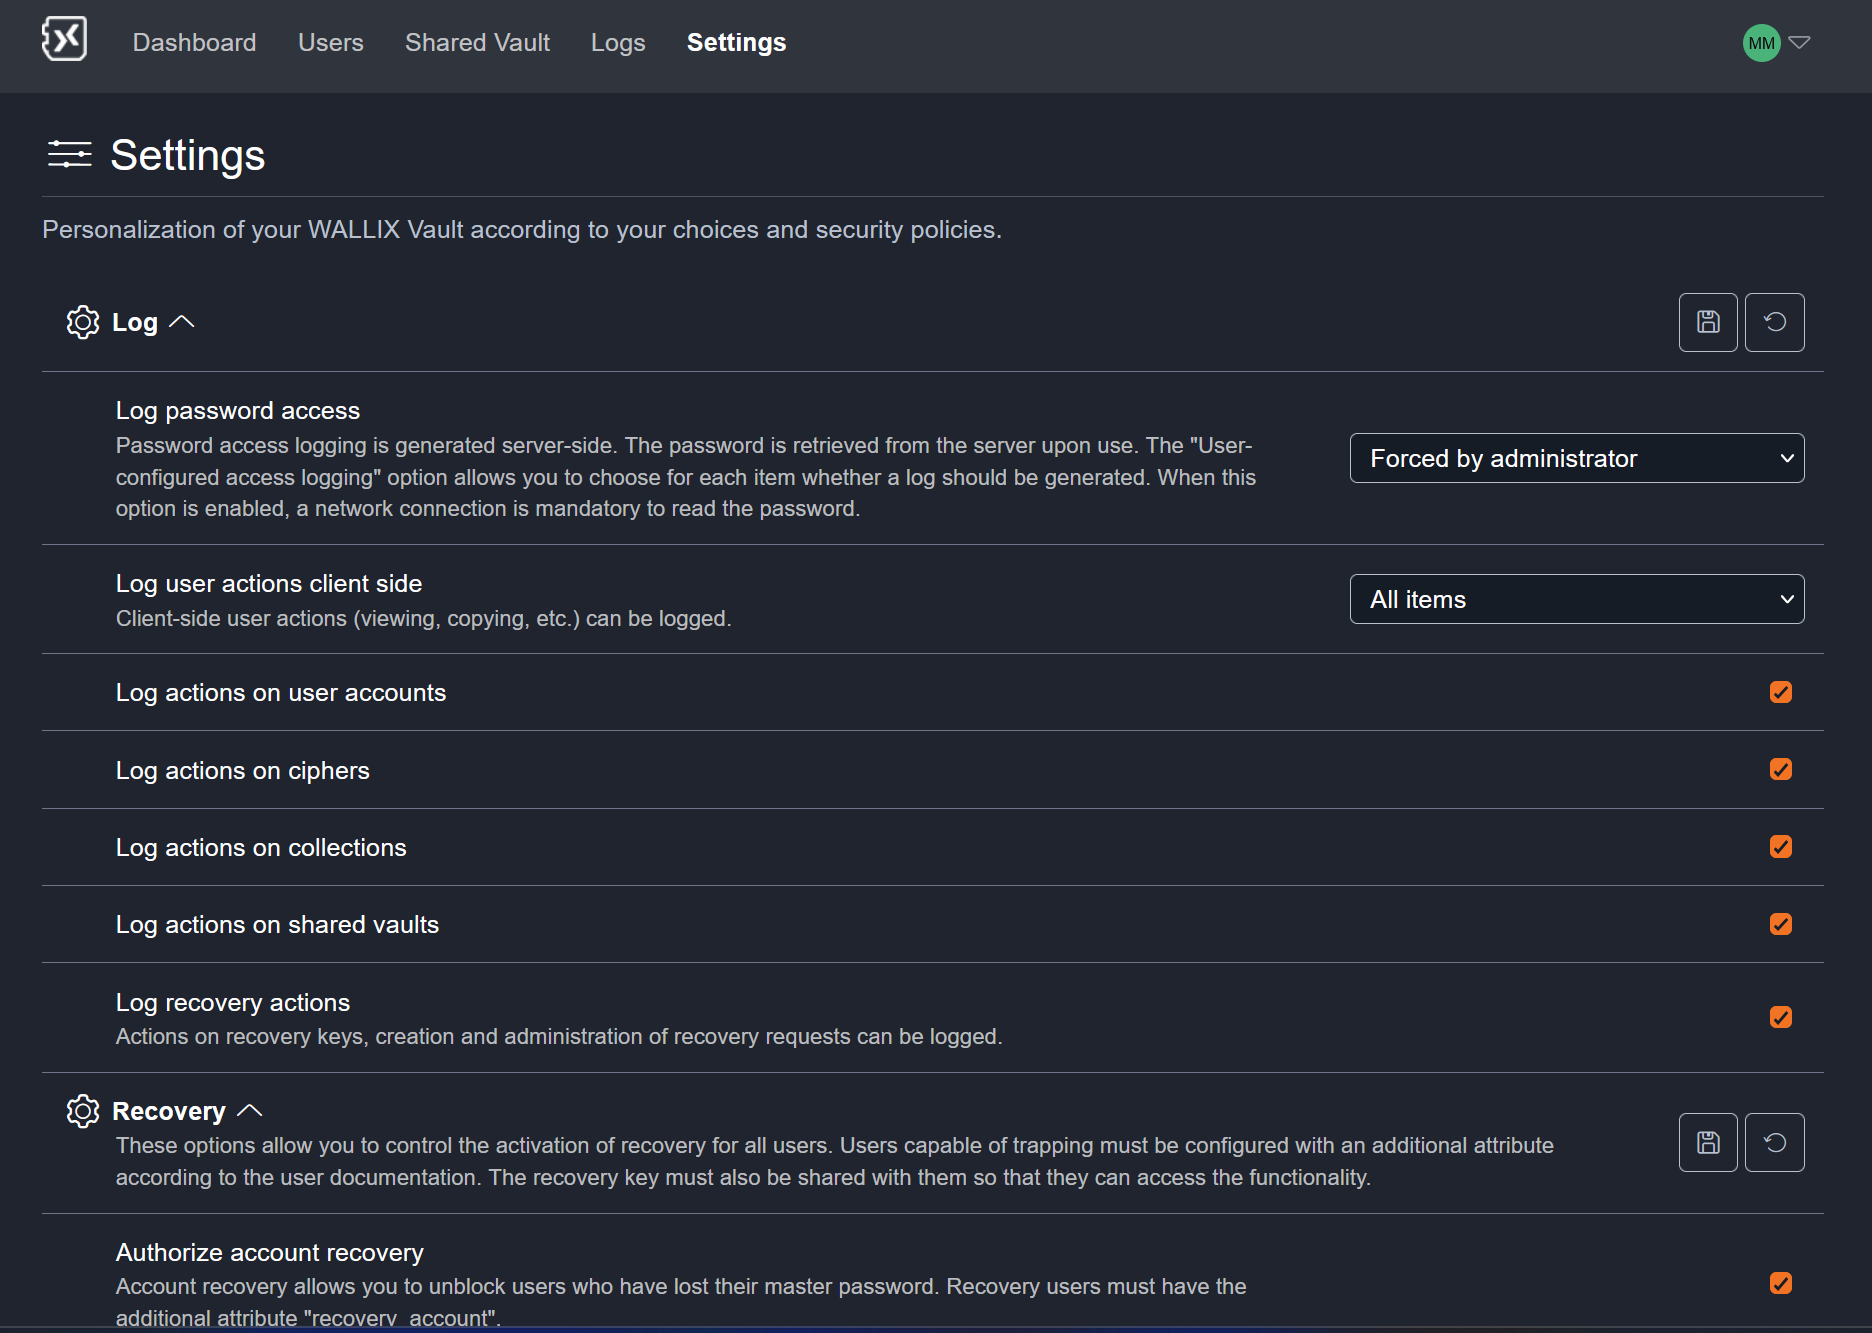
3/ Setup Enterprise Vault admin application
The next step is to define Enterprise Vault administration policies.
Link to Enterprise Vault admin app documentation
Today there are 3 policies:
- Log: which information do you want to log?
- Recovery: do you allow master password reset ? Do you allow data recovery?
- Security: do you allow to list existing users in the forms that offer it in the user application?
If you want to use Recovery features, it is very important to enable it right now.
Indeed, if a user hasn't logged in AFTER you've activated the option, it won't be possible to help him if he loses his master password.
- Go to your user dashboard (your_name.trustelem.com) with an account that has access to the admin app
- Click the Admin app
- Go to Settings
- Enable the desired settings, then Save each categories
4/ Add the Enterprise Vault specific recovery rights for user
This step is only necessary if you want to use recovery.
There are 2 types of recovery:
- Account recovery, to manage master password reset requests
Link for account recovery documentation - Data recovery, to access a user's personal secrets.
Link for data recovery documentation
Each requires specific rights, which are controlled by WALLIX ONE IDaaS.
To carry out a data recovery action, a validation is required, with a quorum to be reached.
Defining quorum members also requires a specific right.
- Go to WALLIX ONE IDaaS admin dashboard, then click Users
- Select a User, click Edit and Add attribute
- For recovery account:
name: recovery_account
kind: bool
value: true - For recovery data:
name: recovery_data
kind: bool
value: true - For recovery data quorum:
name: recovery_data_workflow
kind: bool
value: true

Of course, recovery_data and recovery_data_workflow should never be assigned to the same person.
The first user with data/account recovery rights will automatically have the encryption keys needed for these operations. However, this will not be the case for subsequent administrators.
The first admin will have to share these keys via the recovery key sharing page on the user application.
(Settings > Recovery keys > Activate access)
Notes
- WALLIX ONE IDaaS administration page should always be secured using multi-factor authentication. To do so you need to enroll a 2nd factor for the admin accounts, then enable multi-factor using the option Authentication level for Trustelem admin console on Security settings > General.
- More information about WALLIX ONE IDaaS is available here: https://trustelem-doc.wallix.com/books/trustelem-administration
Now you're all set, you can create local users if you need to, and communicate about the availability of this new application.
RUN
Once Enterprise Vault is up and running, here's a list of the most important things administrators can do.
WALLIX ONE IDaaS
- Add / edit / delete users
- Change a user email on WALLIX ONE IDaaS will also change the email on Enterprise Vault.
- Deleting a user from WALLIX ONE IDaaS does not delete him from Enterprise Vault, but he will no longer be able to authenticate there.
- Re-creating a user identical to the one deleted will not allow data recovery from Enterprise Vault either: the 2 users will have different IDs. If you need to restore a user, you should use the Display recently deleted users option in the User list. - Unblocking a user
A user may have lost his first or second factor.
In both cases, you can unblock the user by clicking on his profile in the User list. - Add or remove Enterprise Vault rights to users
As explained above, on WALLIX ONE IDaaS you define the Enterprise Vault user rights: recovery_account, recovery_data or recovery_data_workflow. - View logs
On WALLIX ONE IDaaS, you can view all authentication-related information: when, who, what, how, from which IP, with which browser…
WALLIX Enterprise Vault admin app
Link to Enterprise Vault admin app documentation
- Audit Enterprise Vault usage
You can see how your users use the product via the Dashboard, Users and Shared Vault tabs. - Delete a user
In the Users tab, you can delete a user with his or her personal vault. - Force a change of master password or user encryption key
In the Users tab, you can force specific users to change their master password, with or without renewing their encryption keys. - Delete a shared vault
In the Shared Vault tab, you can delete a shared vault with all its objects. - View logs
In the Logs tab, you can audit all Enterprise Vault logged actions.
What is logged is defined in the log policy. - Change policies
In the Settings tab, you can modify your policies, particularly for recovery and logs.
WALLIX Enterprise Vault user app
- Validate a master password reset request
If a user has lost his master password and wishes to reset it, you must validate the request.
Link for account recovery documentation - Request access to a user's personal vault
If you wish to retrieve a secret that is no longer accessible due to the unavailability of its owner, you must make the request. Secrets will be accessible after approval by a quorum.
Link for data recovery documentation - Share recovery keys with a new admin
When a new admin has the recovery rights on WALLIX ONE IDaaS (recovery_data or recovery_account) it is not sufficient to perform recovery tasks. Indeed, another admin with access to the recovery keys must share them with the new admin first (Enterprise Vault user app > Settings > Recovery keys > Activate access).
Link for data recovery documentation or Link for account recovery documentation