Browser Extension : Auto-fill Login to Web Page
Prerequisite: The Browser Extension needs to be installed before the Auto-fill feature becomes available.
Auto-fill from Context Menu
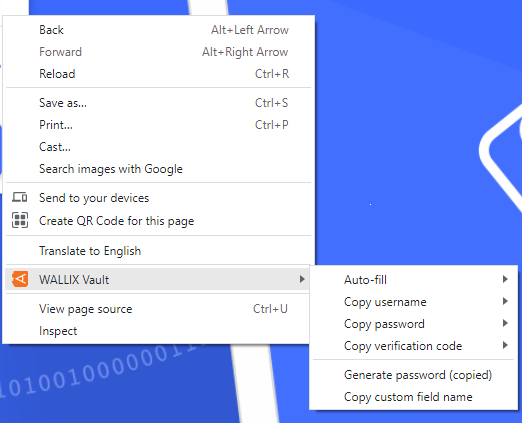
Right click on the Login Screen of a website. The Context Menu is displayed.
Choose WALLIX Vault > Auto-fill.
If the Login is stored in the Vault, the there
Click Auto-fill to retrieve the Login for this website to WALLIX Enterprise Vault.
If you are not signed in to WALLIX Enterprise Vault, you will be prompted to sign in before retrieving the Login.
- Copy username: copies the username of the login to the clipboard.
- Copy password: copies the password of the login to the clipboard.
- Copy verification code: copies the verification code of the login to the clipboard.
- Generate password: generates a new more secure password from the copied password.
- Copy custom field name: copies the name of the custom field of the login.
Auto-fill on Page Load
Auto-fill on Page load is a function that automatically populates a Login on a Page when the URI of the page being displayed corresponds to an Item in the Vault.
This is pertinent for Logins, Cards or Identities.
Untrusted iframes: Auto-fill on page load does not work for untrusted iframes.
HTTPS/HTTP: If the Vault Item expects an HTTPS site and a HTTP version of the site is displayed, the user is warned before auto-filling on page load.
Enable Auto-fill on page load
For security reasons, it is automatically disabled and needs to be enabled to work.
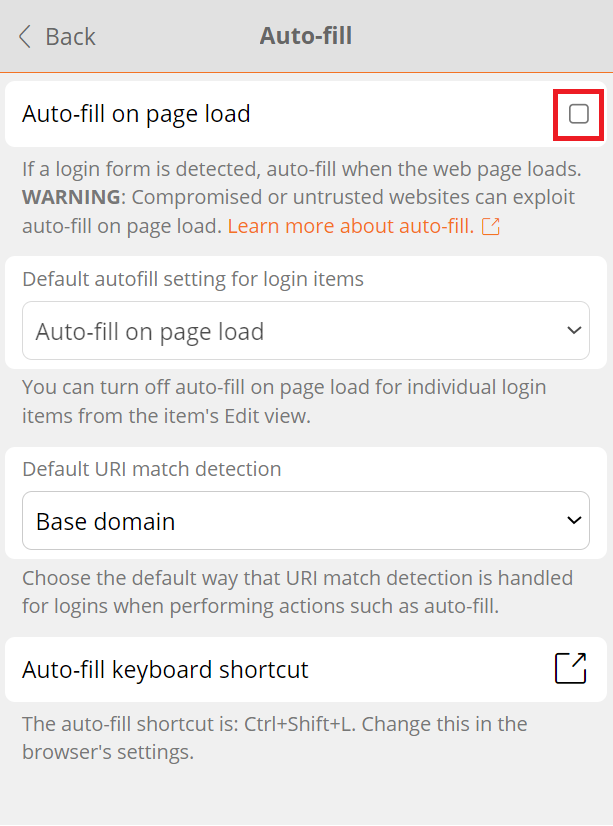
To enable Auto-fill on Page Load, from the Browser extension, navigate to Settings> Autofill. The Auto-fill screen opens.
Click the Auto-fill on page load checkbox. This enables the option to auto-fill logins on page load.
From the Default autofill setting for Login items dropdown, choose the default option:
This can be overwritten for each item from the Items Screen. This allows specific auto-fill options to be set for specific items.
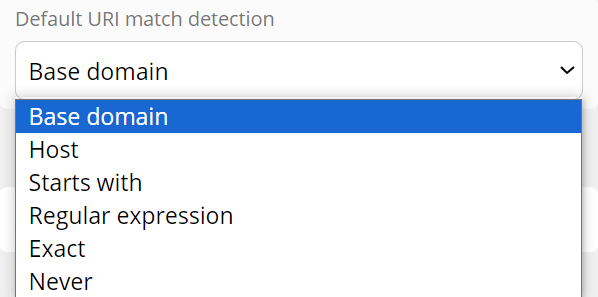
From the Default URI match detection dropdown, choose how to match the URL of the webpage with the Login already in the Vault.
Auto-fill Item to Vault on Page Load
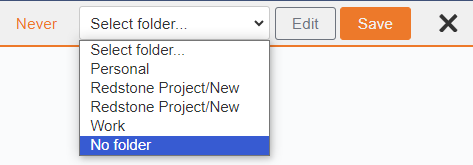
If this login is not already saved in WALLIX Enterprise Vault, a prompt displays which offers to save the Login details for this Website.
Choose a Folder to add the Login to this Folder in the Vault. This field is optional.
Items are added to the User's Individual Vault and not a Shared Vault.
Click the Save button.
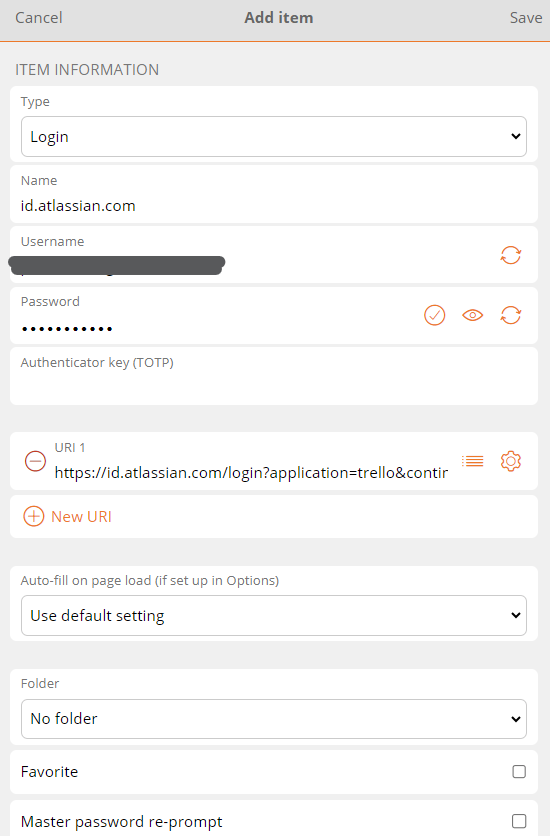
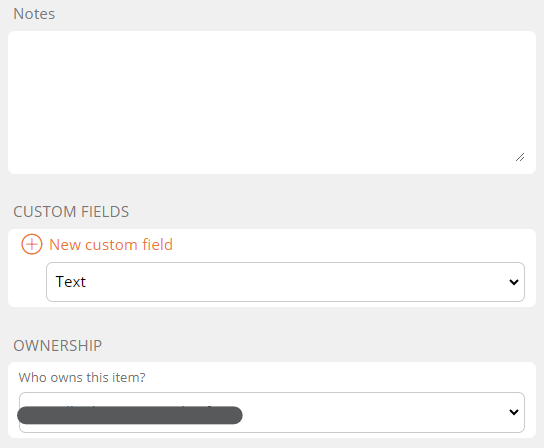
The Add Item Screen displays with the fields prepopulated with the Login details.
Modify fields, if required.
Click Save to Save Item to Vault.
Alternatively, click Cancel to cancel the operation.
Auto-fill Manually
You can manually add a Login that is not already in the Vault.
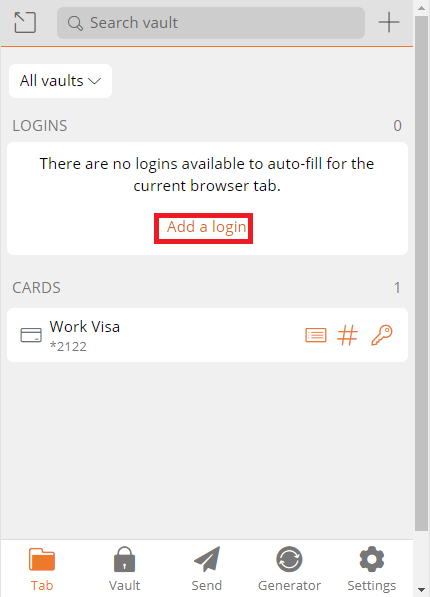
From the Vault Screen of the Browser Extension, click Add a login.
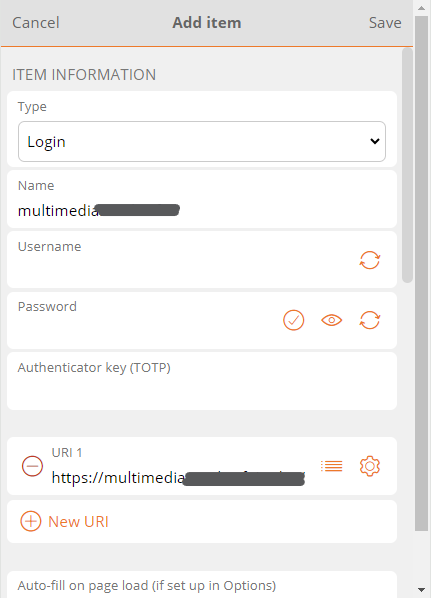
The Add Item Screen opens.
The elements that the Browser Extension could recuperate from the browser are prepopulated.
Enter the remaining fields. Click Save to create Login.
Alternatively, click Cancel to cancel the operation.
Auto-fill using Keyboard Shortcuts
Use the following default keyboard shortcuts (also known as hot keys) to auto-fill a login.
-
Use Ctrl + Shift + L if running Windows of Linux
- Use Cmd + Shift + L if running for macOS
If multiple logins are found for the URI, the last-used login is used for auto-fill.
Keyboard shortcuts can be useful to populating multiple logins in rapid succession.
Configure shortcuts: If the keyboard shortcut doesn't work, it may be because another app is already using it. Either remove the shortcut from the other app or configure WALLIX to use a different shortcut.
TOTP Copy
If the Login uses WALLIX Authenticator for TOTPs, the shortcut also copies the TOTP to the clipboard after auto-filling the web page with any of the above methods.
Auto-fill for iframes
Auto-fill does not work for untrusted iframes.
An untrusted iframe is defined as one where the src value is not the same as the URI for the Login item, as required in the rules set for Match Detection Behavior.
When the browser extension detects an iframe it responds based on the type of auto-fill being used:
- Auto-fill on Page Load: the browser extension disables the auto-fill on page load and does not warn the user
- Auto-fill using Context menu, Keyboard Shortcut or from Browser Extension: the browser extension warns the user about the iframe.

