Import Data
This procedure applies to Individual Vaults and Shared Vaults.
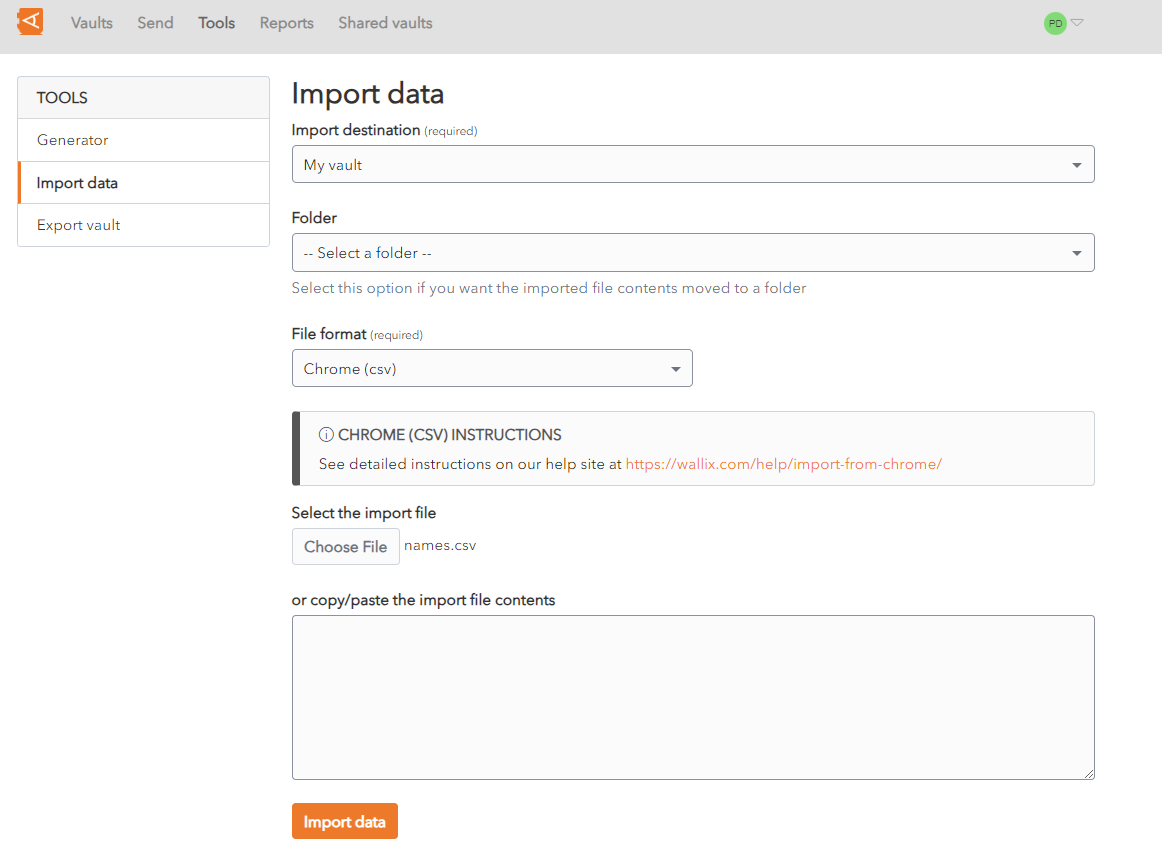
From the Import Destination dropdown, choose a Vault into which to import the data. This field is mandatory.
From the Folder dropdown, choose the folder into which to import the data. This field is optional.
From the File format dropdown, choose the file format of the file to import. Instructions are displayed relative to the file format chosen. This field is mandatory.
From the Select the import file field, locate and choose the file to import.
Alternatively, copy/paste the import file contents to the large text field provided.
Click Import data to start the import. The data is imported.
If the import file is password protected, you will be prompted to enter the Password before the import can start.
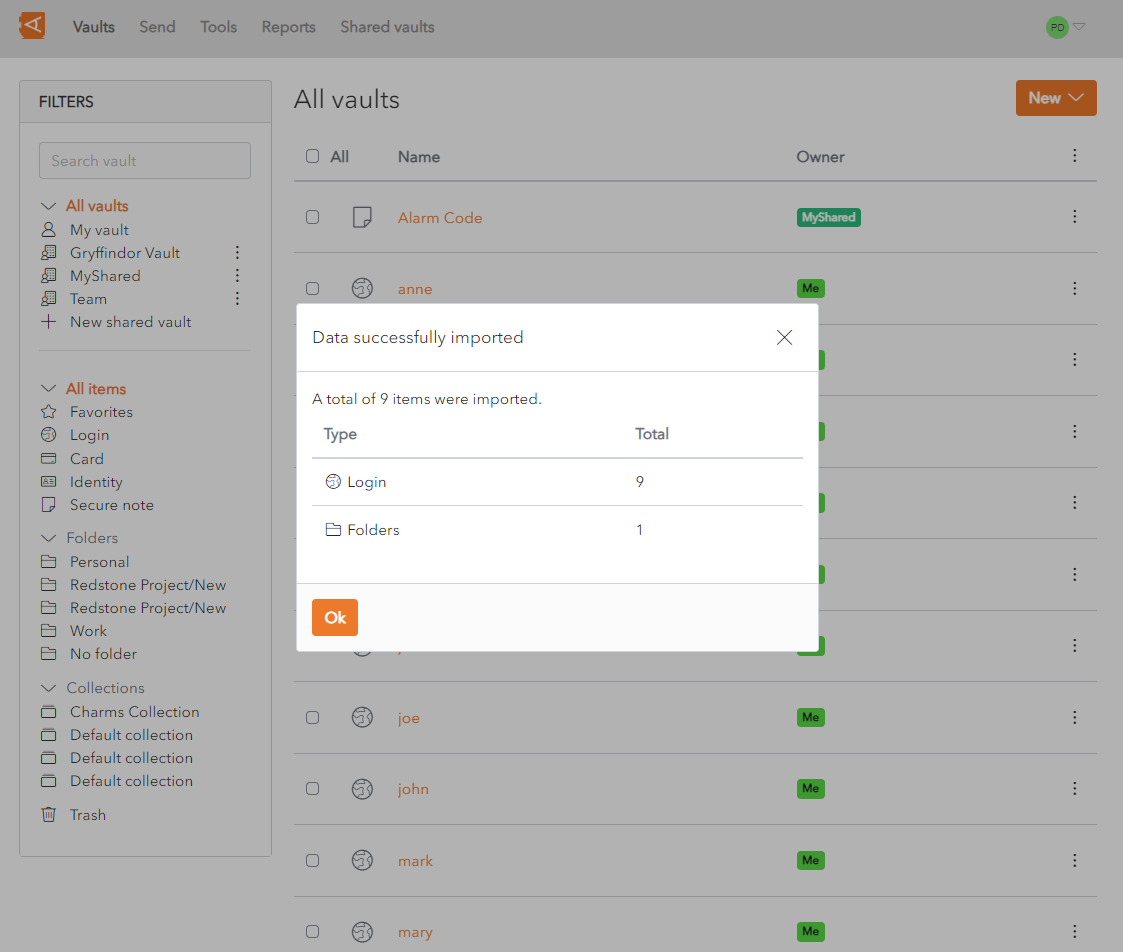
A Confirmation Screen is displayed, summarizing the data imported.
Click Ok to return to the Item List Screen.
Attachments, Password History, Sends and Trash cannot be imported using this feature. They need to be entered manually.
The Data Import feature does not verify if items imported are already in your vault. If an Item is imported and already exists in the Vault, a duplicate item is created.
When the import has finished, it is recommended that you delete the import file from your computer, for security reasons.


No Comments